How To Install and Use ArmSX3 Emulator
ARMSX3 is a PlayStation 2 (PS2) emulator for ARM64 platforms such as Android, iOS, macOS (Apple Silicon), and other devices. It is a fork of the PCSX2 emulator, allowing it to run on ARM devices. It is an open-source project that aims to run PS2 emulation on ARM devices with better performance than other emulators such as AetherSX2 or NetherSX2.
Here's how to install the ArmSX3 emulator with detailed steps and instructions for use if you're new to ArmSX3:
1. First of all, you have to download the materials, namely the ArmSX3 emulator application, PS2 BIOS, and PS2 Games.
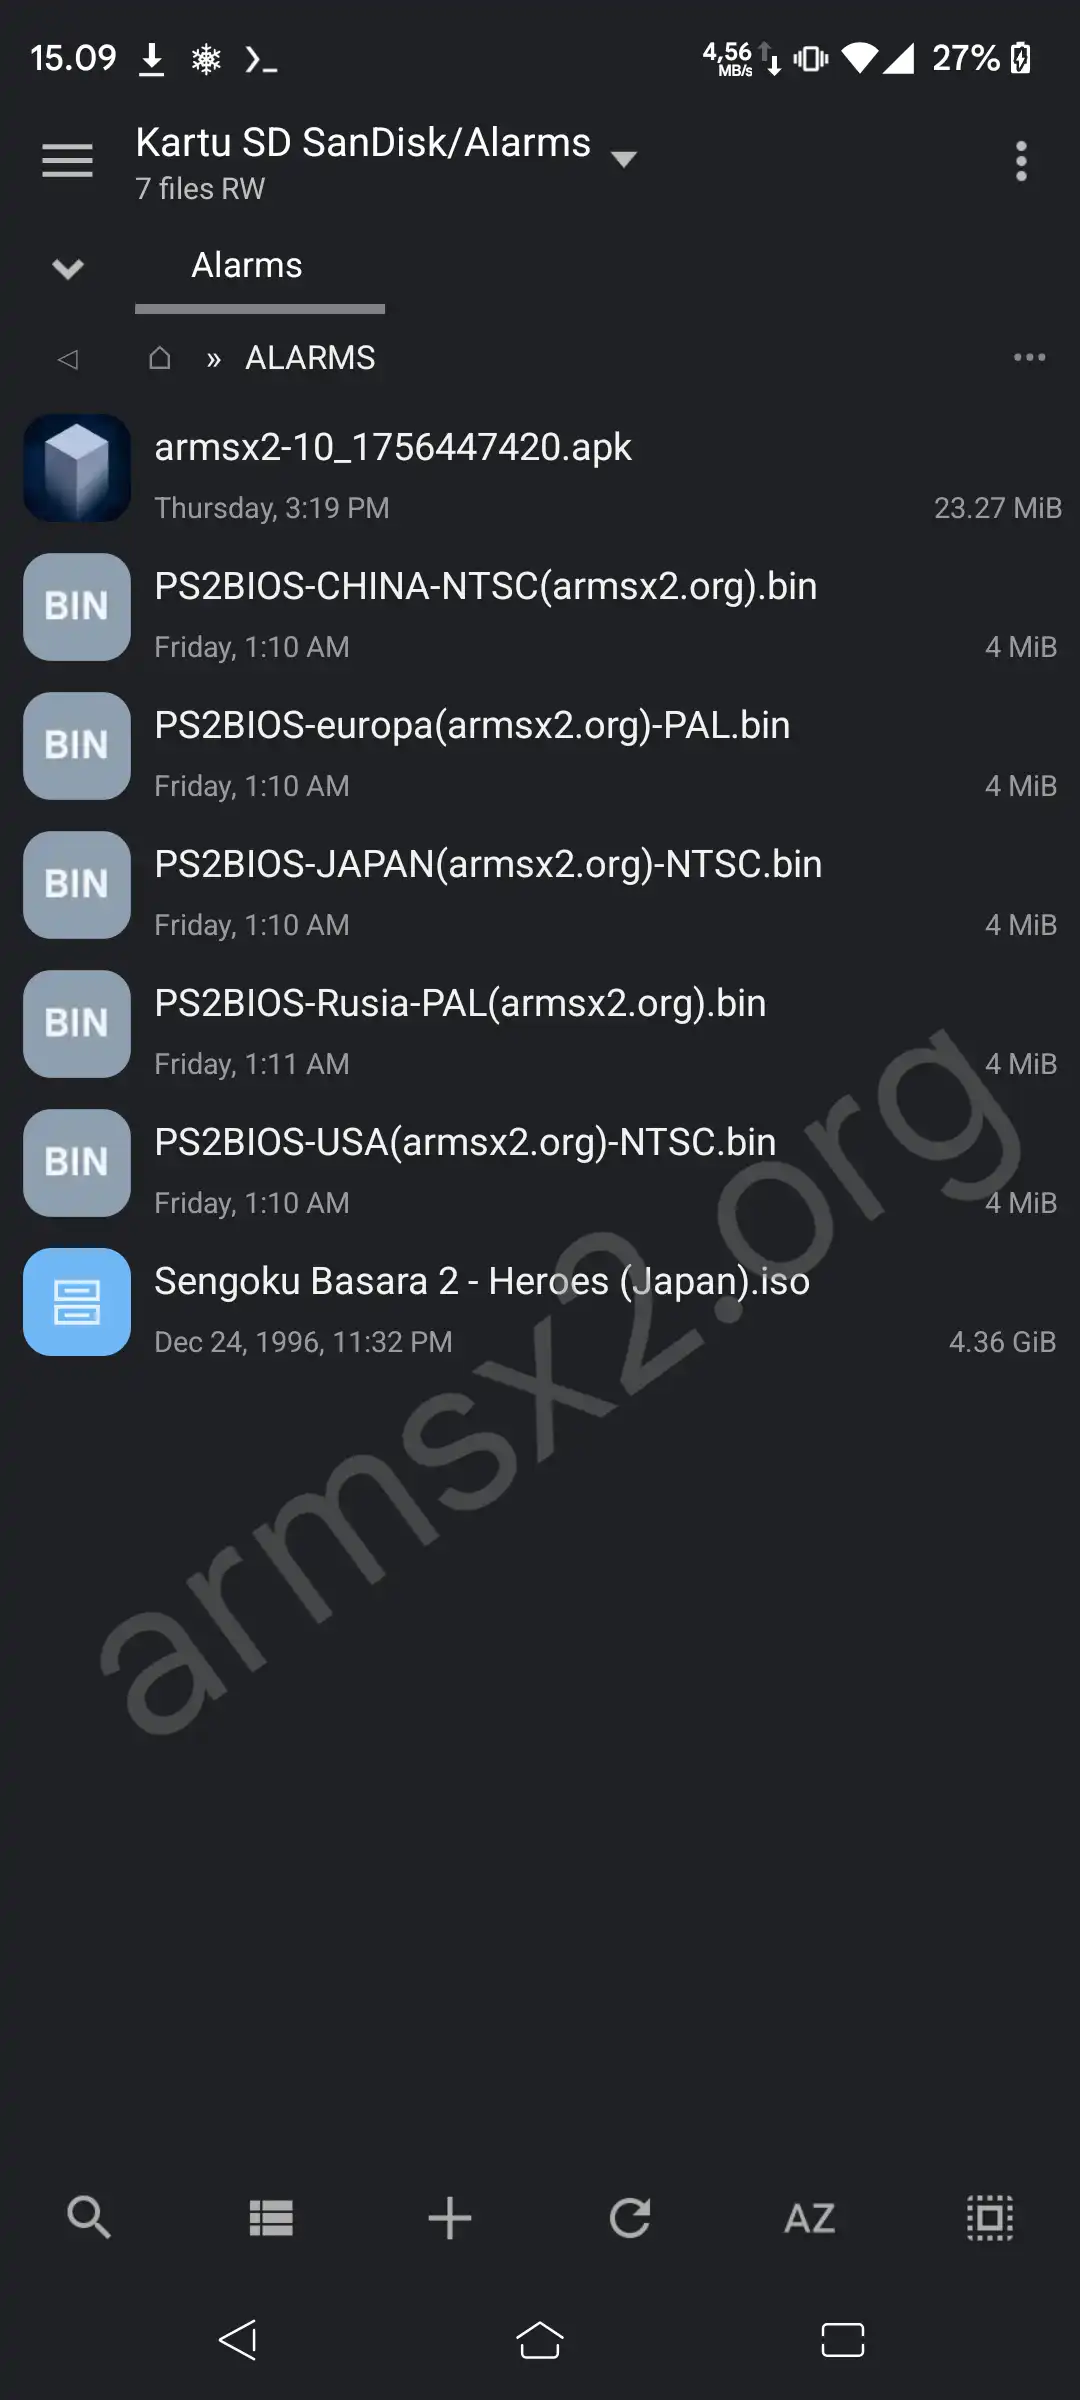
2. After that, you can directly install the ArmSX3 emulator application.
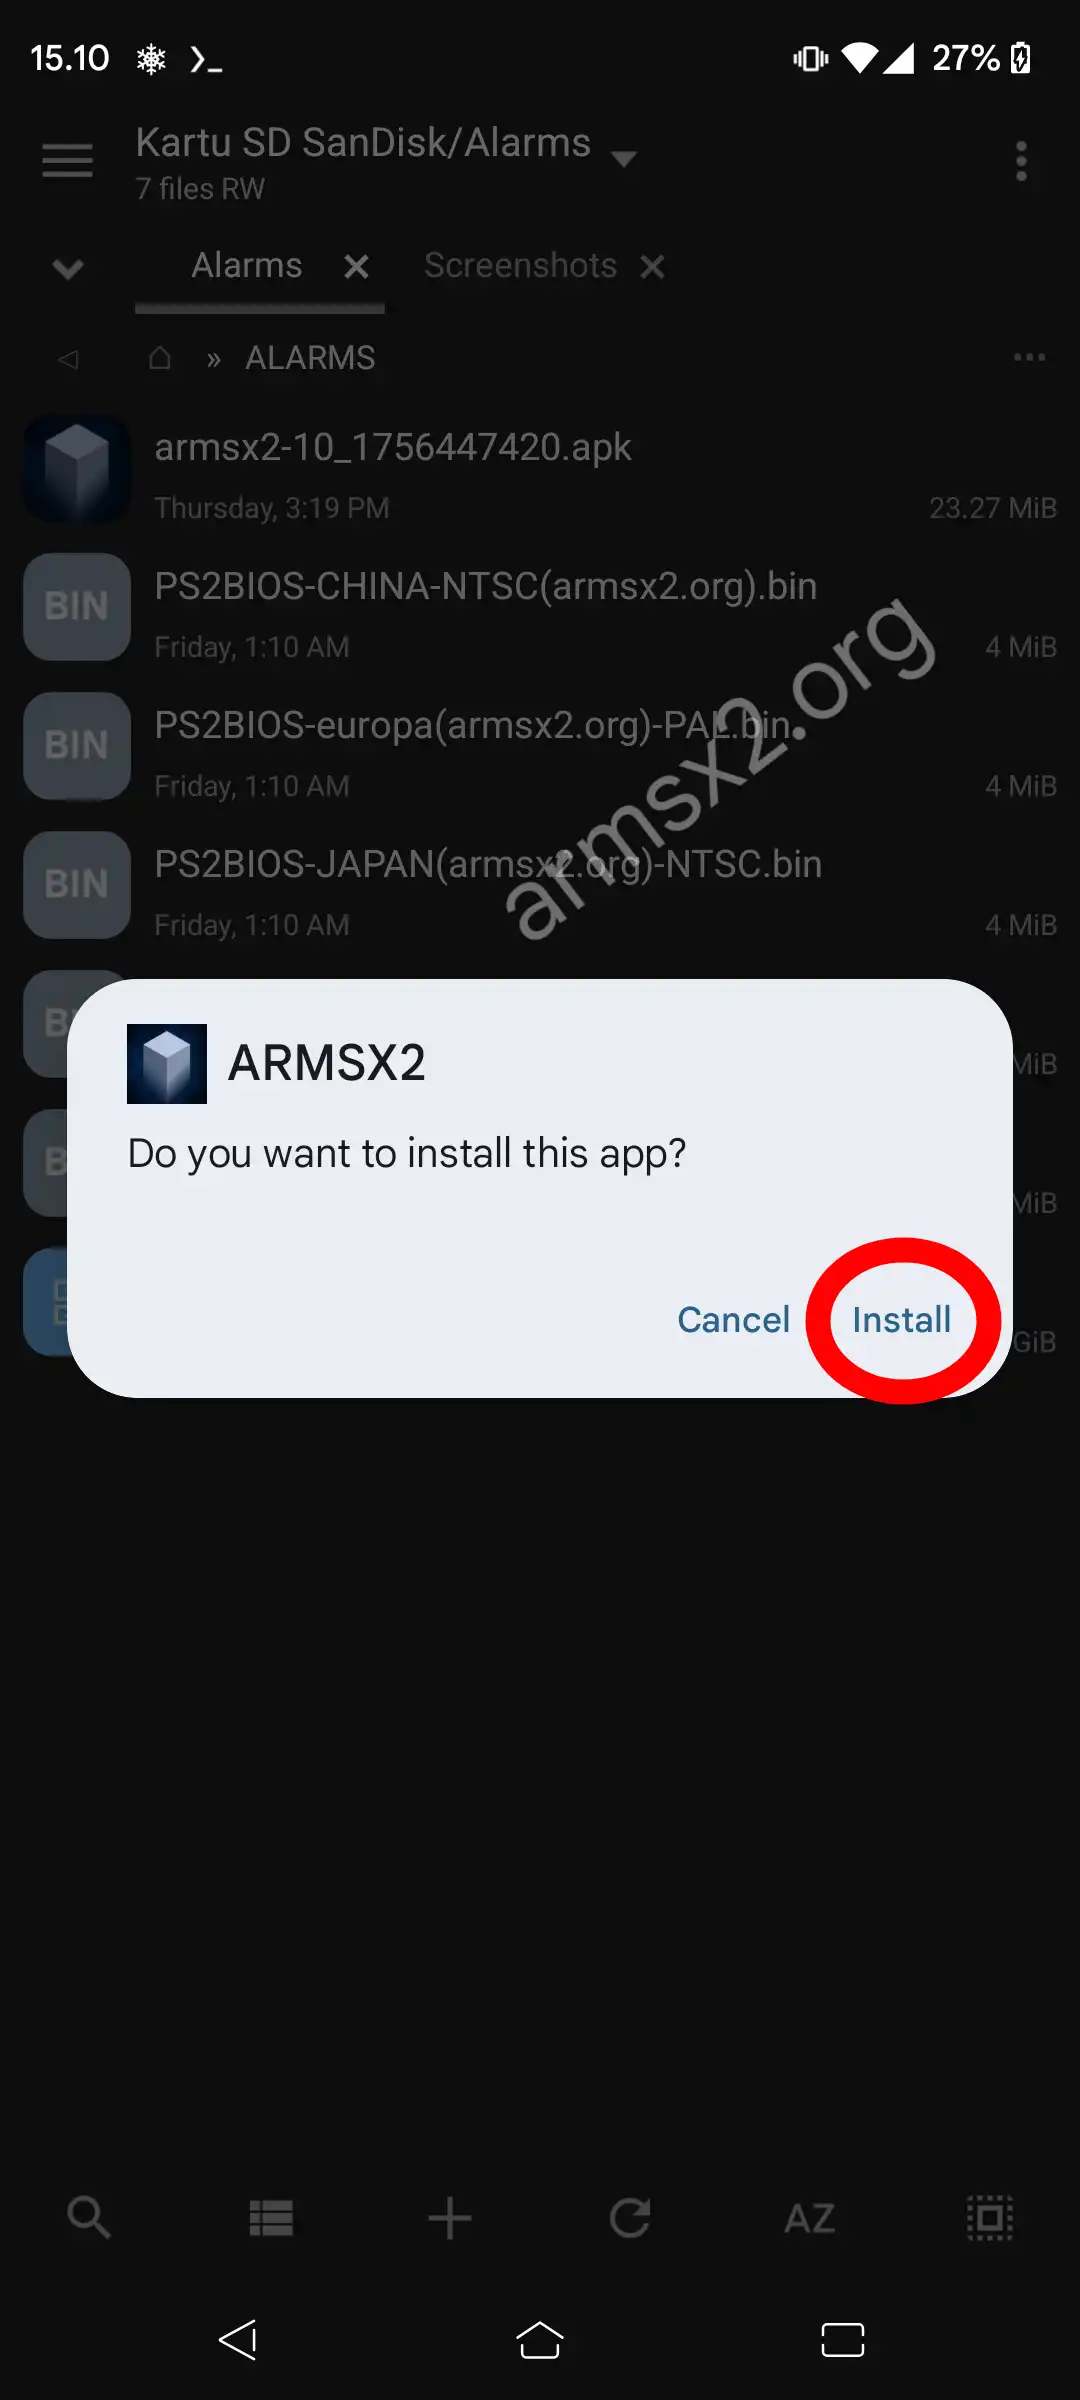
3. Then open the ArmSX3 Emulator application.
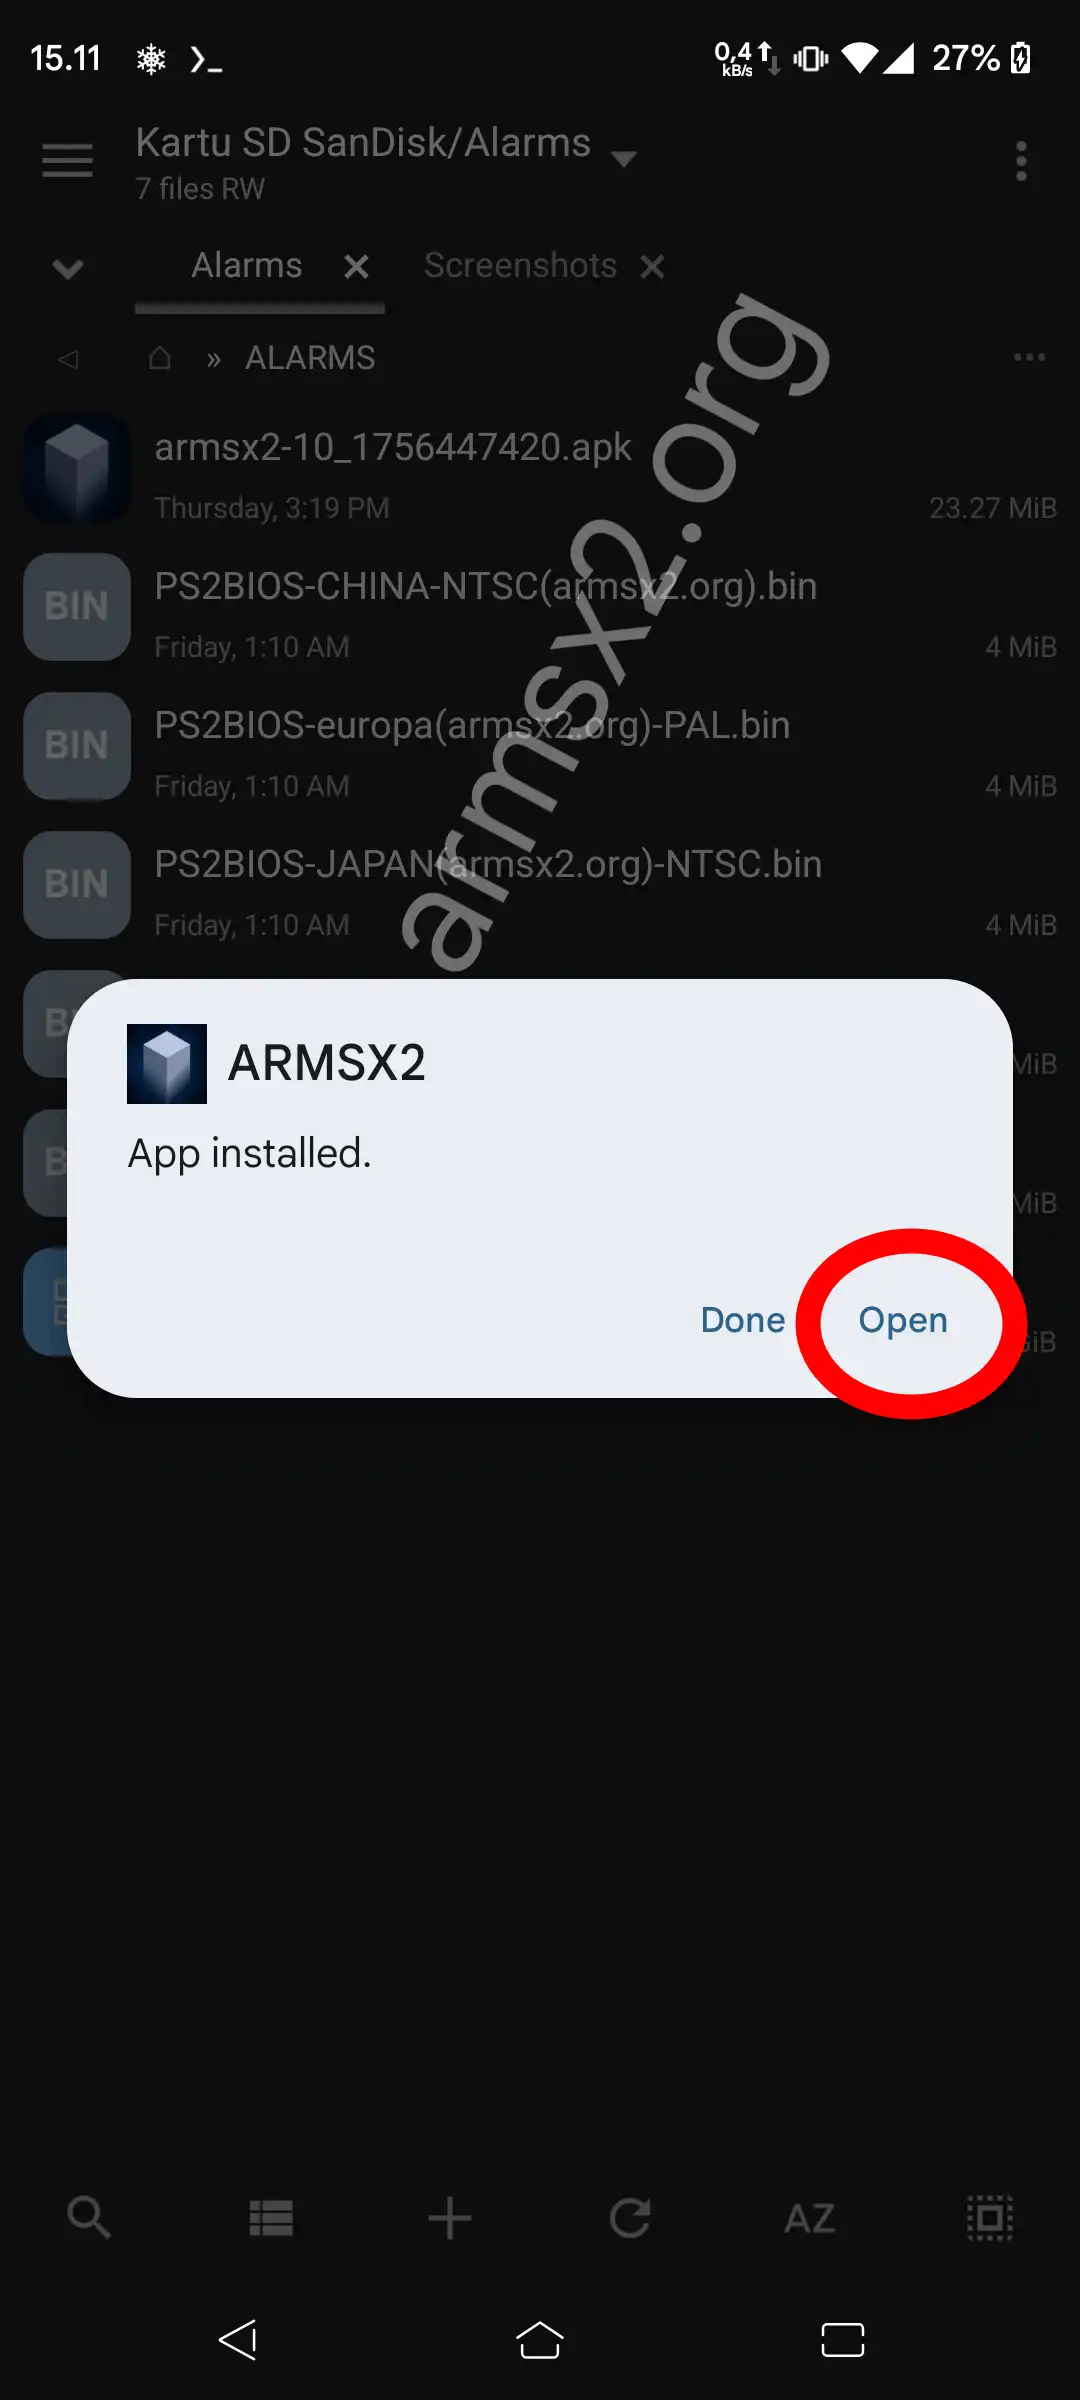
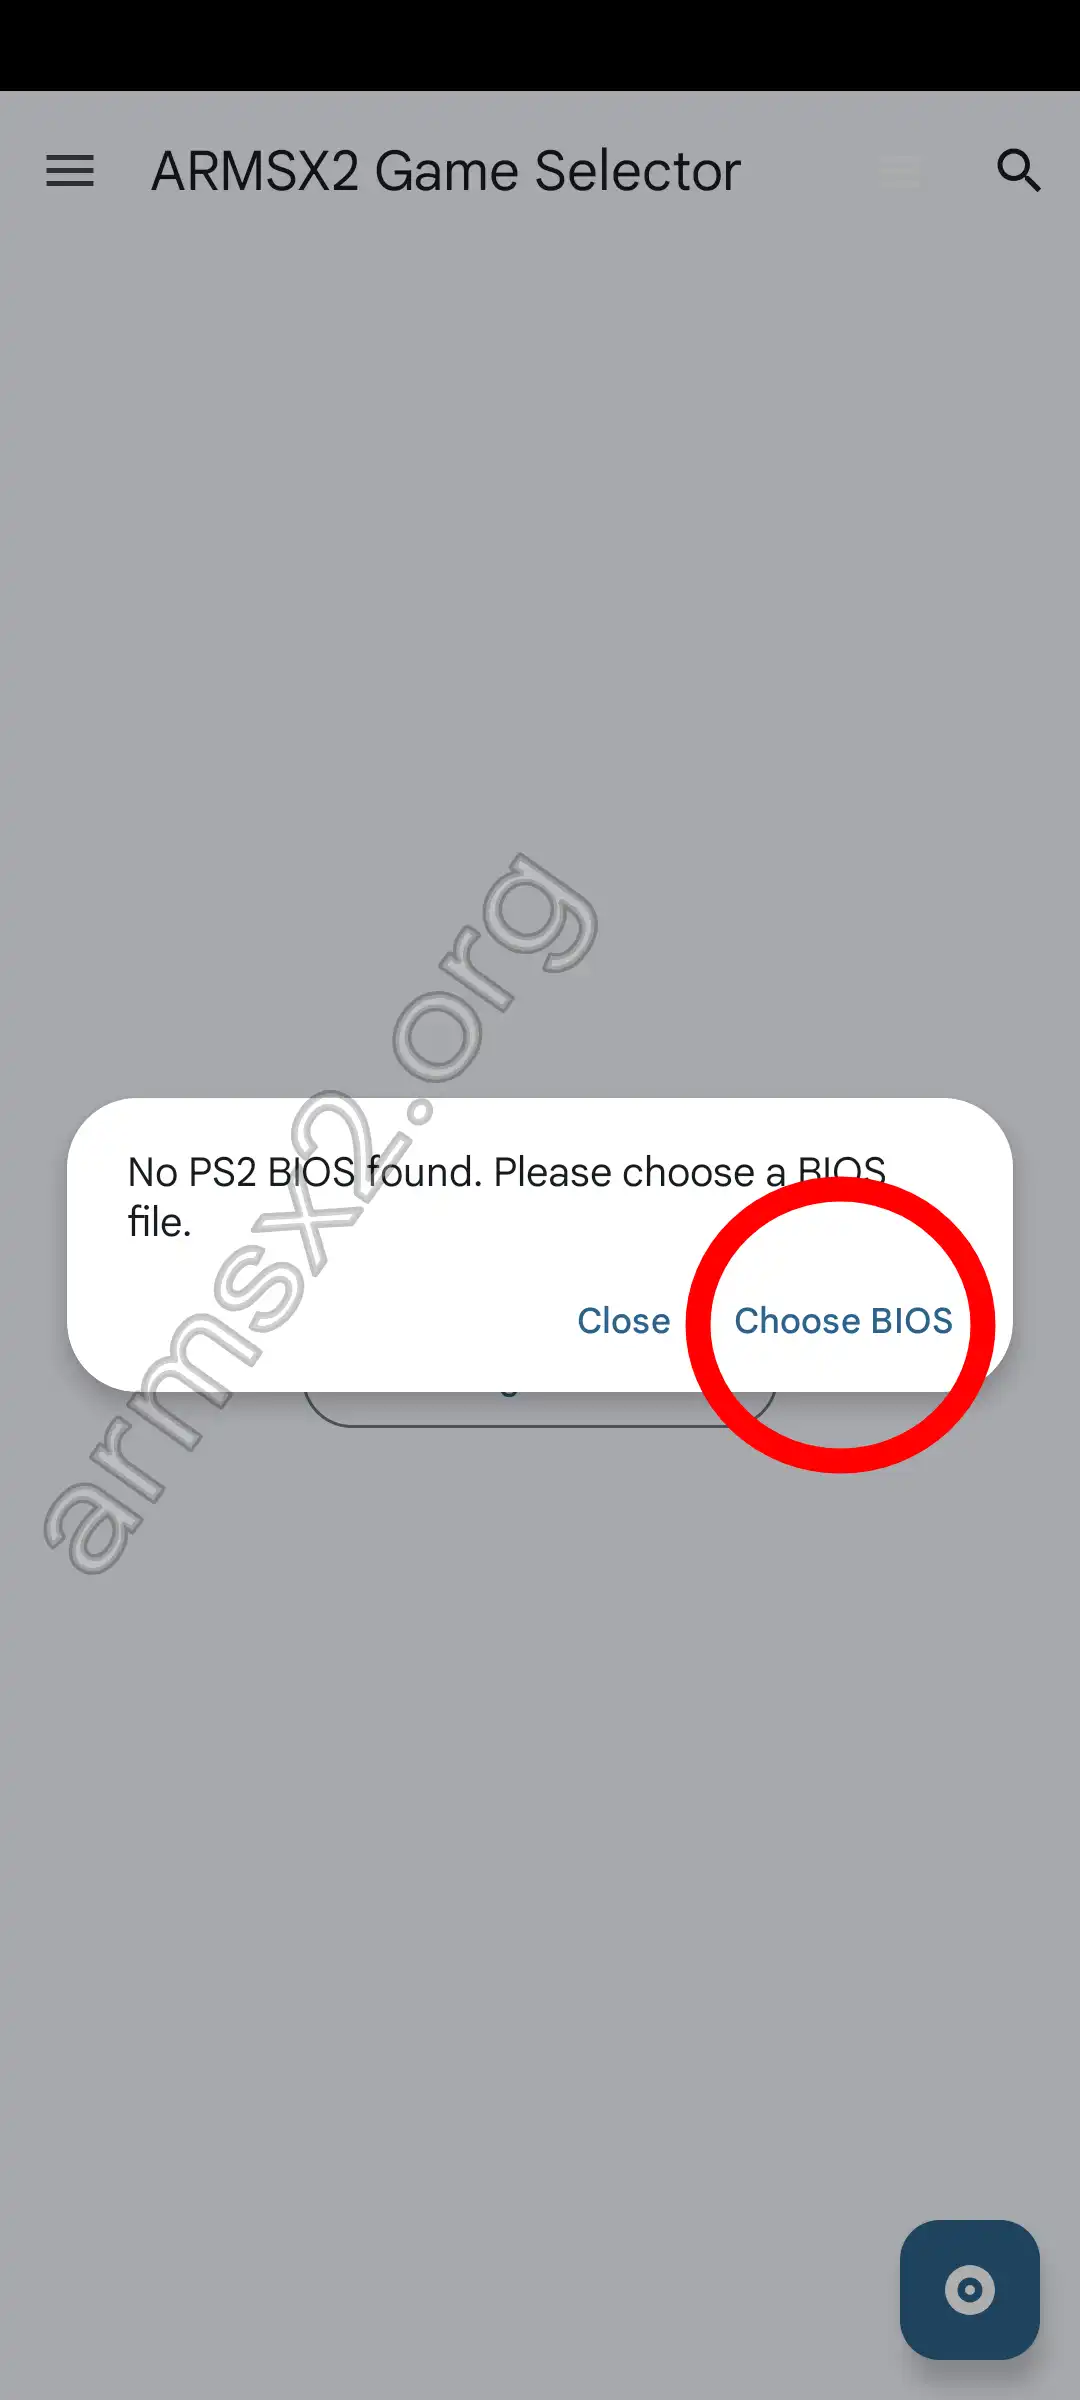
4. After that you have to add PS2 BIOS by selecting Choose BIOS.
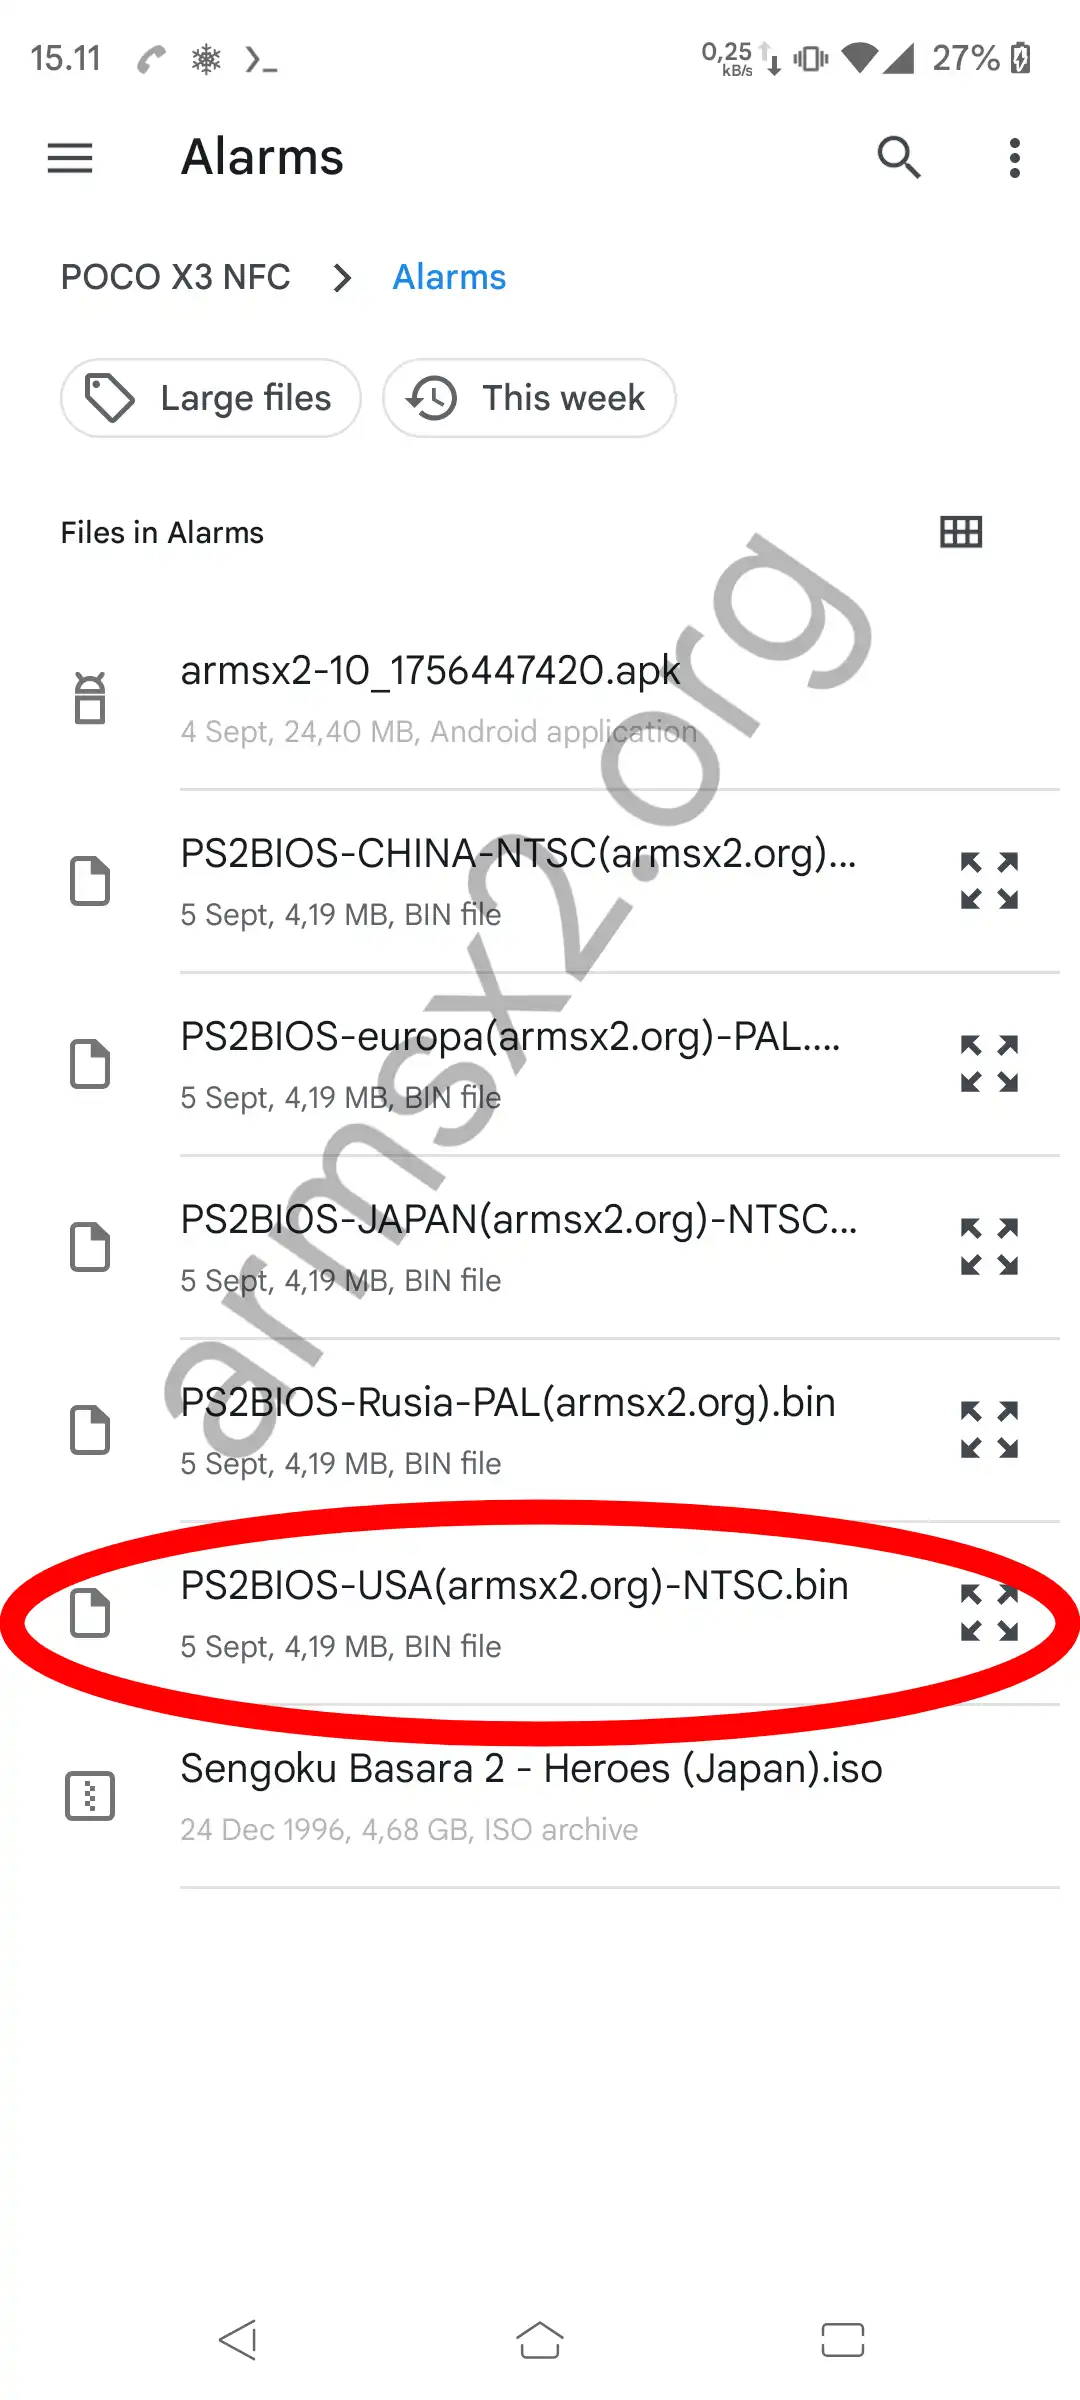
5. Then select the BIOS that you downloaded earlier, adjust the BIOS version according to your region.
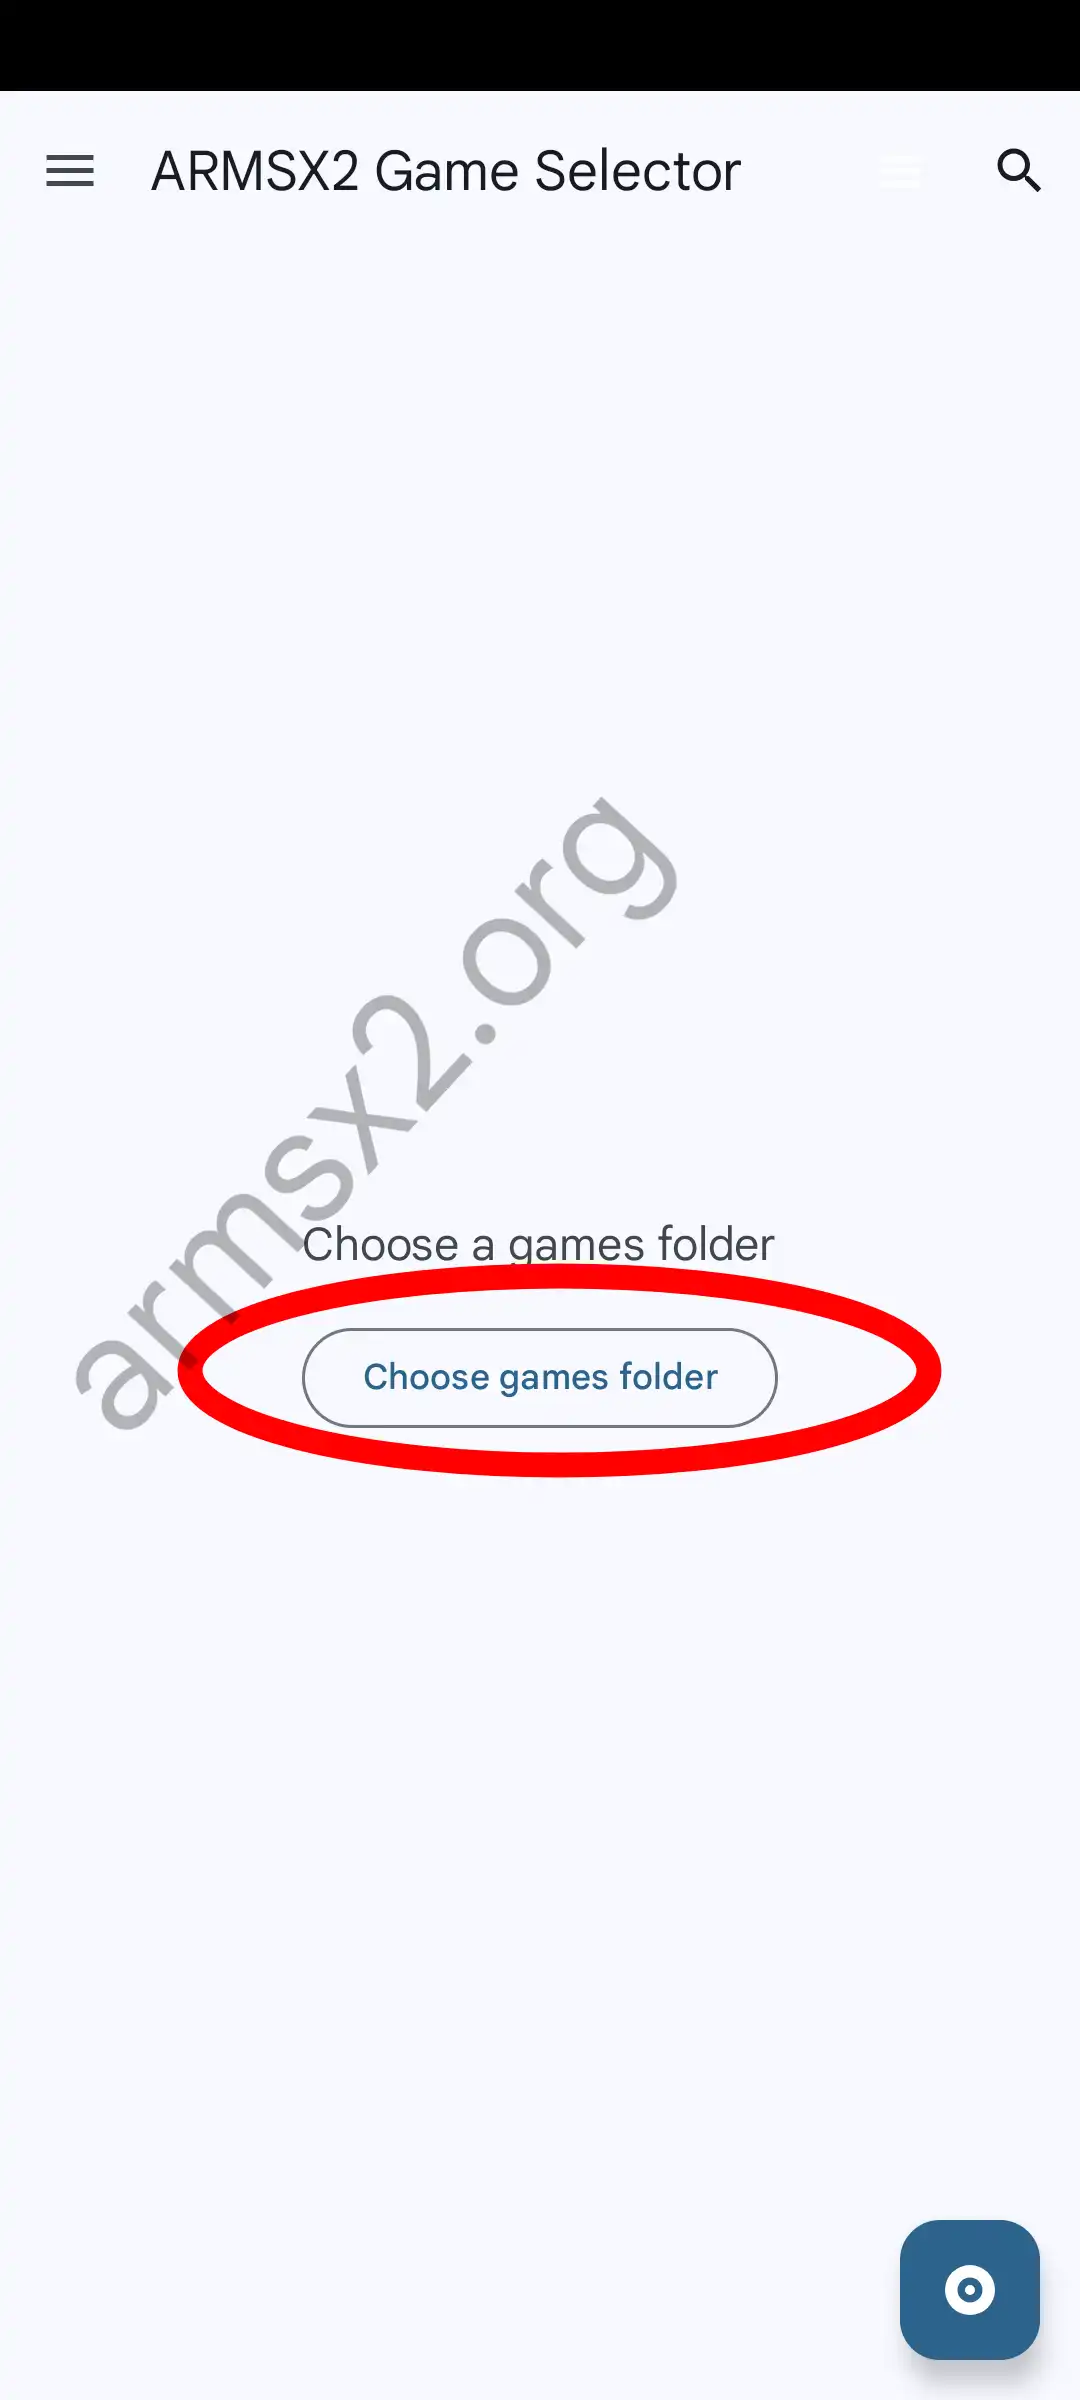
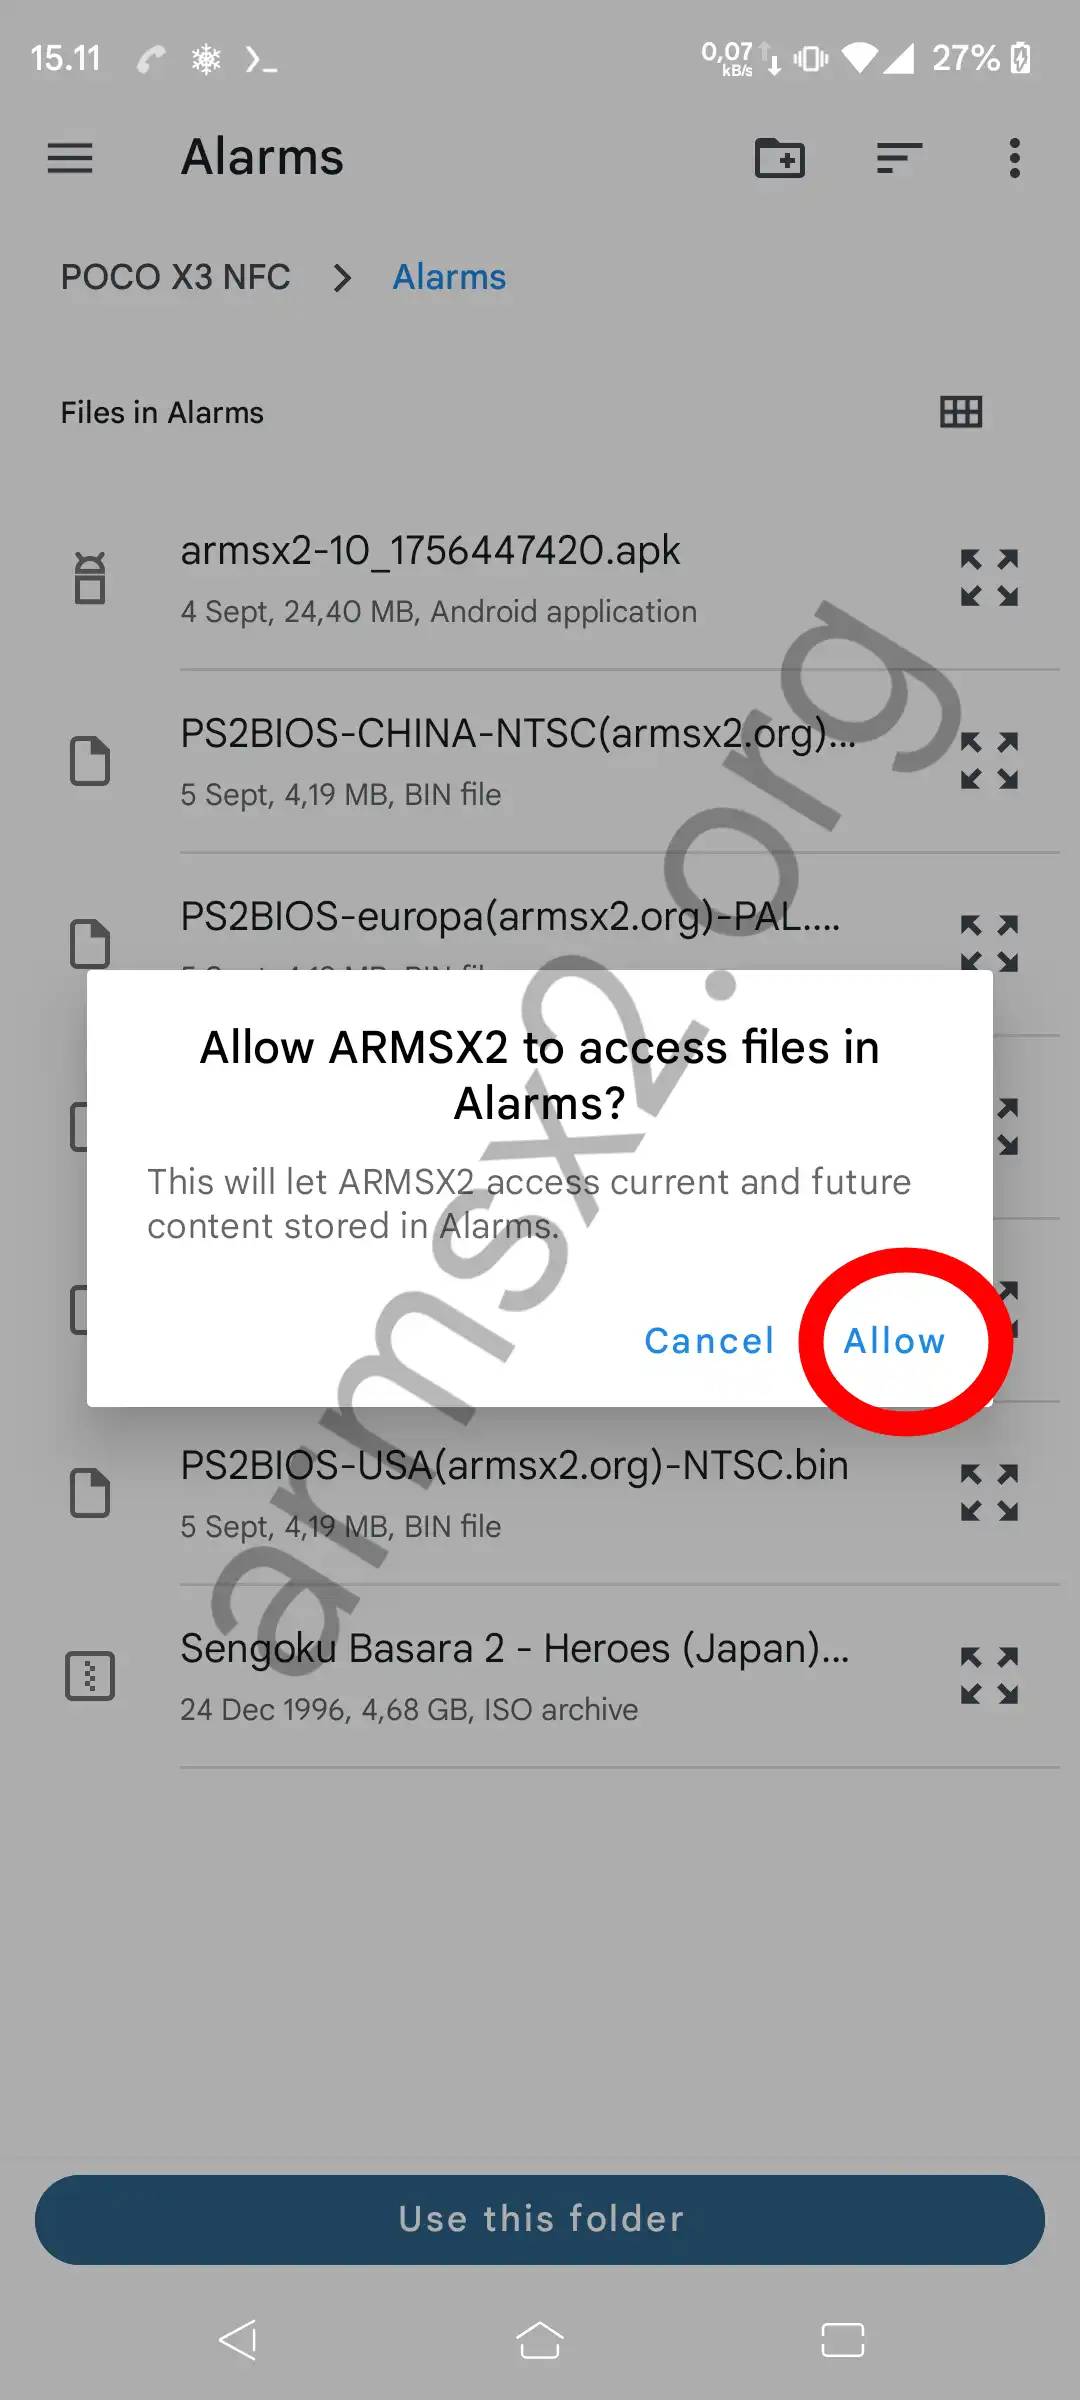
6. After that, you have to add the directory/folder that contains the PS2 game, by clicking choose game folder.
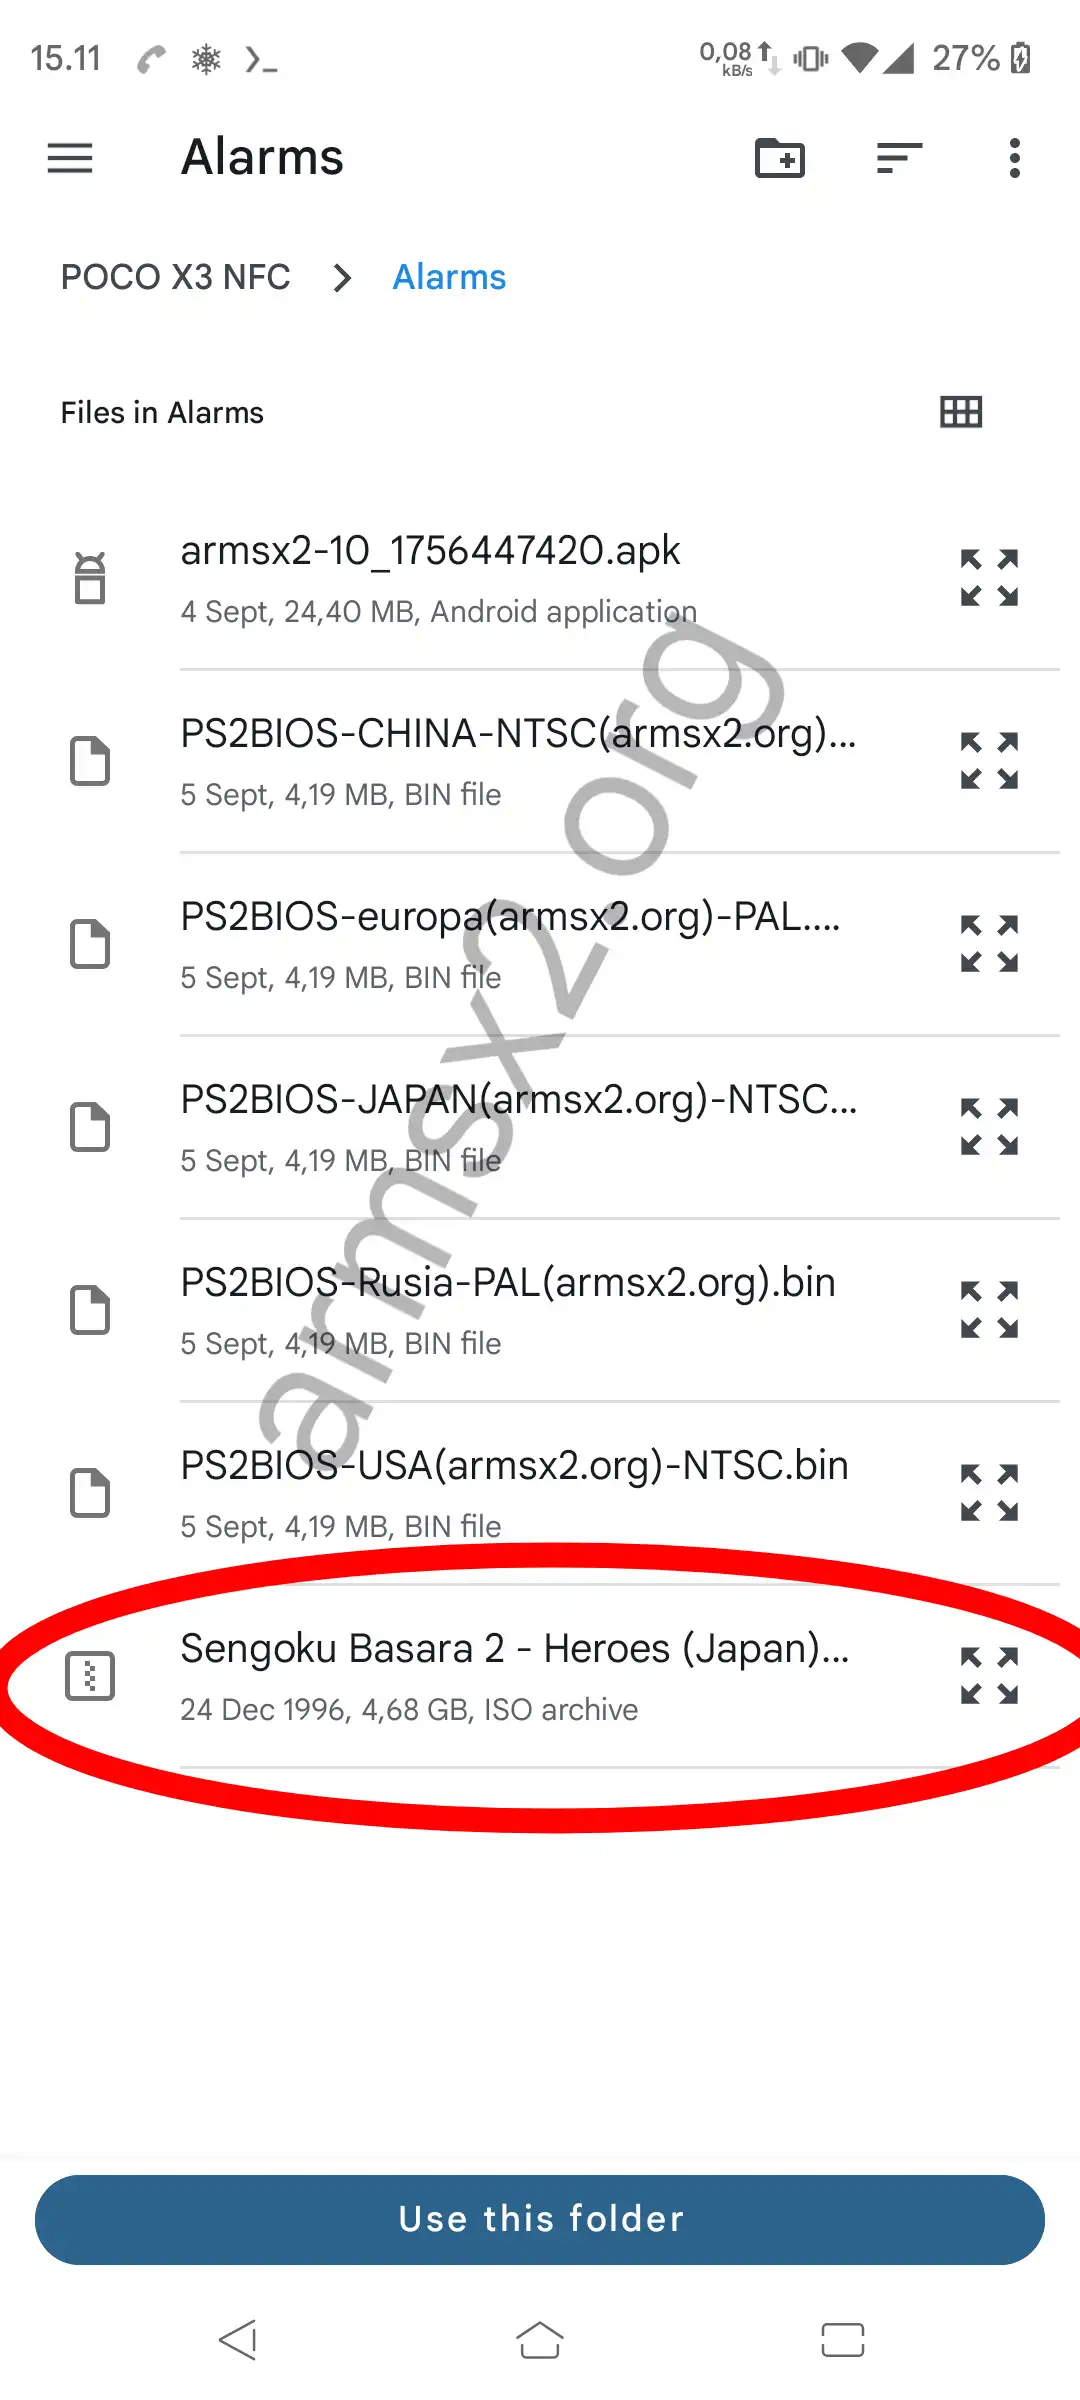
7. After that, click use this folder
8. Grant storage permission so that ArmSX3 can read the directory containing your game.
9. Okay, after that the game will be detected in the ArmSX3 menu, you can just open it directly.
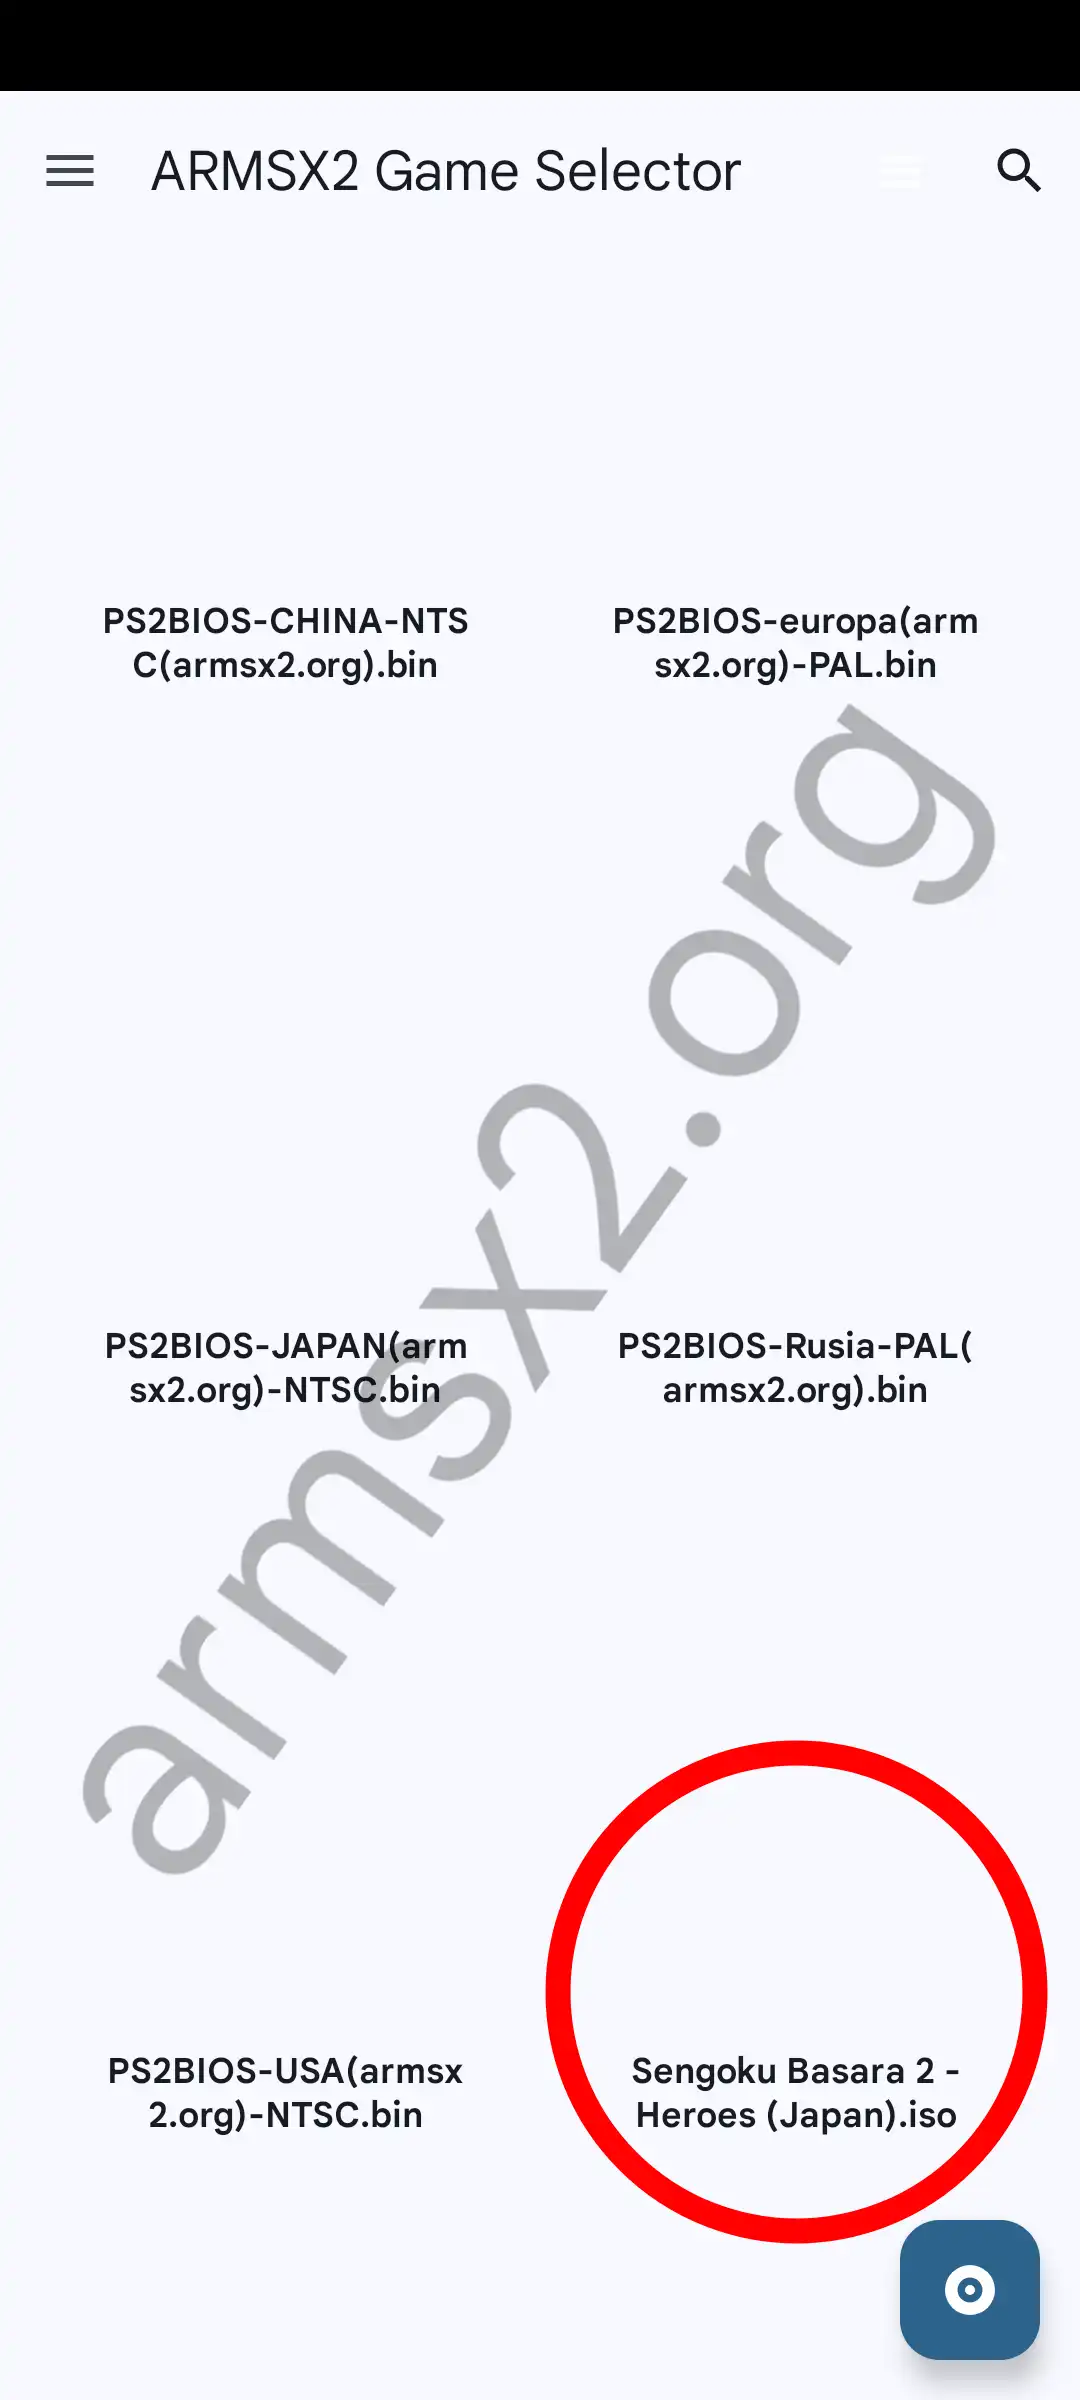
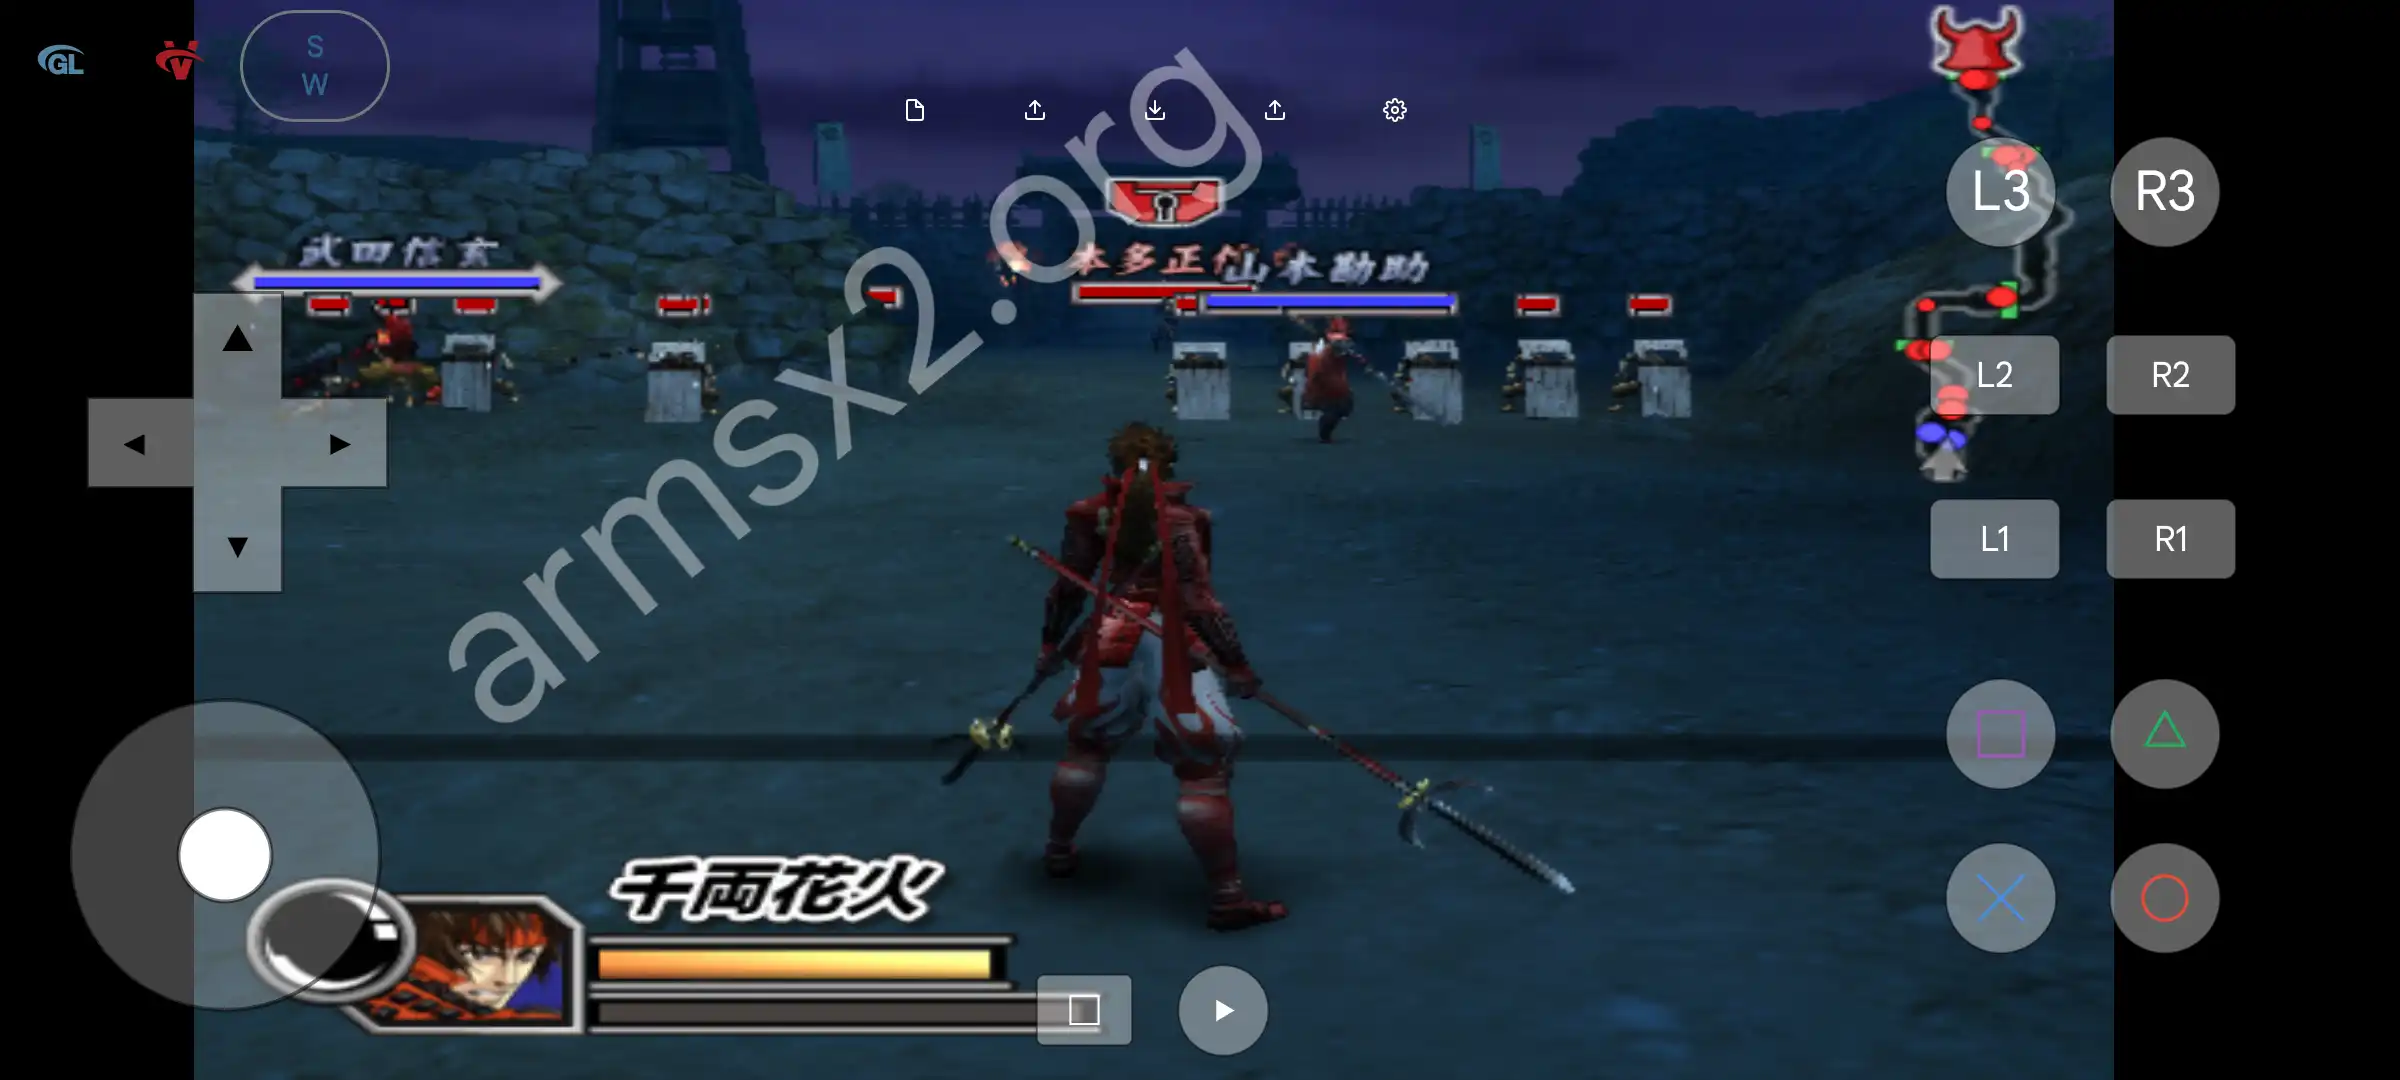
10. And this is a screenshot of ArmSX3 emulator opening ps2 game Sengoku Basara Heroes2.